Paper Jet 14

Paper Jet 14
Hull#001 Built by Dudley Dix

Sunday, March 27, 2011

Cross Deck

Took a weekend break from the boat to go sailing in San Diego - rented a 40' Beneteau - Nice boat! But now I'm back in business!

First thing was to fillet the "cross" in place which I accomplished during the week. I followed this up on Friday afternoon by sanding down the fillets of the cross deck frame prior to installing the cross deck. I figured out it would be easier to do this prior to putting the cross deck in place. I found the center of the cross deck, drilled a hole and installed a brad nail. I drilled a small corresponding hole in the center of the cross deck frame so that I could easily locate the center when test fitting the deck structure.

Cross Deck being temporarily fitted

I temporarily attached the cross deck so that I could determine where to trim the arms up against the rub rails. After trimming the arms I re-fit the deck and marked the rub rails so that I could cut the recesses with the router. It took a combination of the router and my vibrating saw to cut the recess due to the fact that width of the arms created a span that was to great to cut with the router alone.


Next step I glued the cross deck in place. As you can see in the picture I ended up clamping a couple of pieces of wood on one of the cross member arms in order to straighten it out (It's that darn 4mm plywood!)


After letting it set up overnight I removed the clamps and trimmed/sanded the edges - Looks good!


Finally I glued up the mass steps and the spinnaker pole support.


Next steps will be to fillet the cross deck to the cross frame and install the cross deck doublers.

Sunday, March 13, 2011

Good Progress!

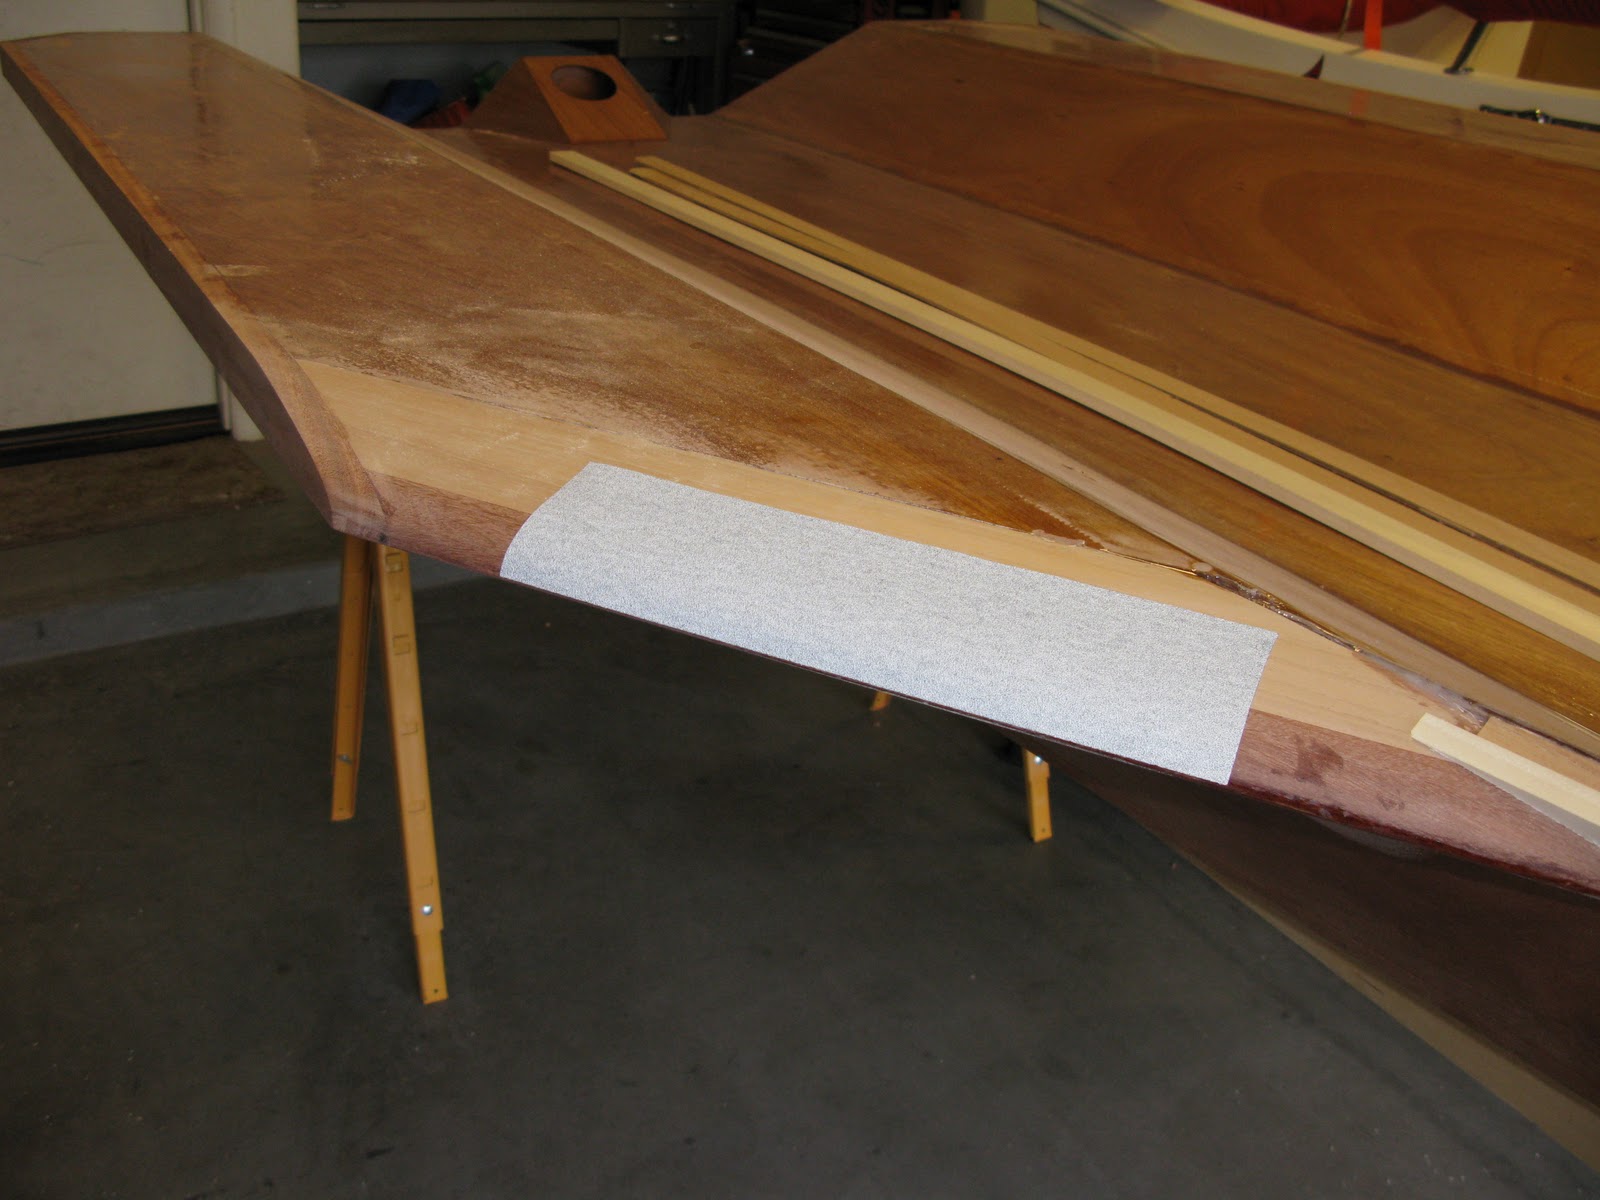
Made some decent progress this weekend! I started out by sanding the remainder of the deck to smooth things off prior to the installation of the deck doublers. I also busted out the fairing epoxy to smooth out the deck in the area of the butt joints since the doublers overlap the joint, and also since the cross member also overlaps the joints.


While the fairing epoxy set I decided to cut out the remainder of the parts so that I could be ready for the last steps. I ended up using my Harbor Freight vibrating saw which made easy work of it. I also used my "Cosco special" generic Dremel tool to clean up the insides of the mast steps rings which also worked really well!. I did notice though that the inside circles of the rings where not so round. Looks like there must be a glitch with the cutting file! Seems like I may have to fair the inside of them to make them round!


As you can see the Kit number is nicely routed into the cross member - #40!


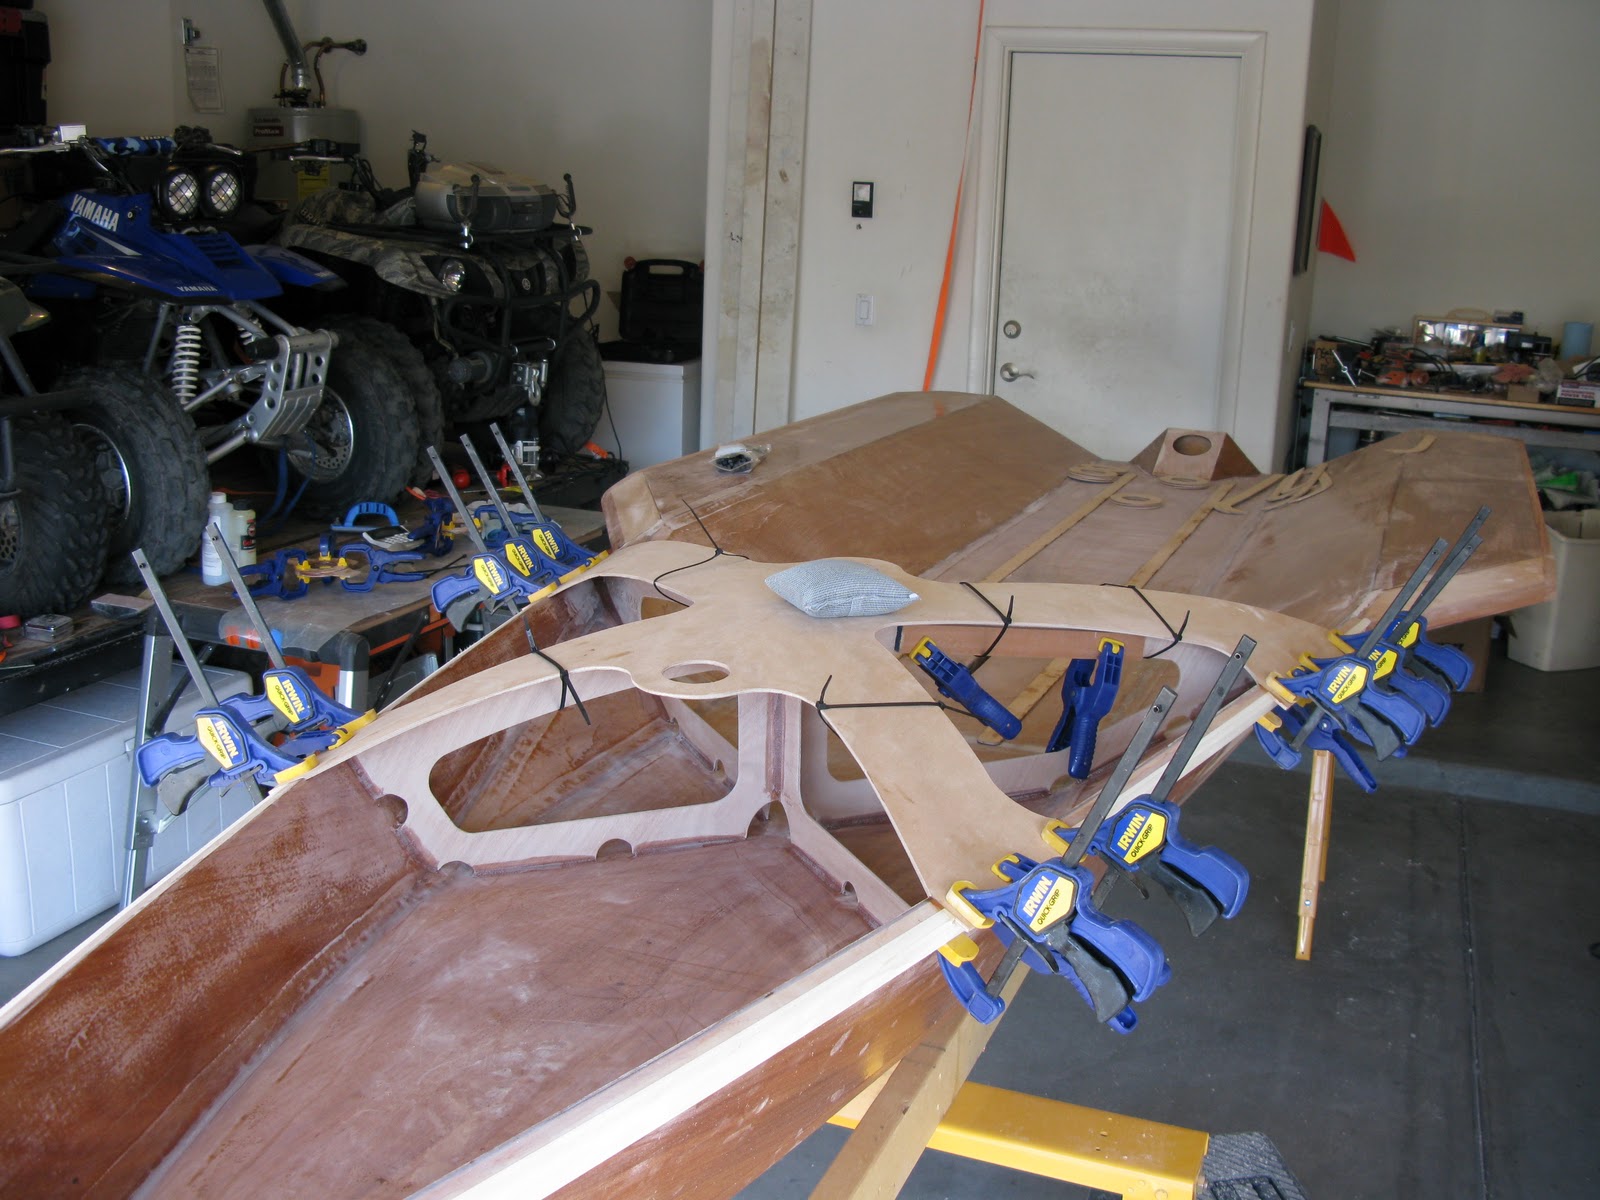
Once everything set up I sanded down the area that I faired, and started the process of fitting the cross member to the hull. I started out by locating the center of the cross member @ 2800 mm from the transom. The plans also give dimensions to where the extremities of the cross member cross the gunwales, so I marked those off also. I then proceeded to spend the next couple of hours sanding, fitting, sanding some more, fitting, until finally all fit well. For whatever reason I noticed that the edges of the cross members tie into the top of the gunwales perfectly on all four corners which is a bit of a head scratcher  since in theory it should be 4mm below... I guess there will be some fitting involved when I install the cross deck. The part that is a little confusing is that it seemed the rest of the hull was 4mm higher  than the frames when I was installing the wing deck panels - go figure. I filleted everything into place, and used some of my dive weights to keep the whole thing in place!


I finished up the weekend by installing the deck doublers in place and weighing them down to ensure a good tight fit.


Next steps will be to install the cross deck structure and start gluing up the mast step pieces!

Friday, March 11, 2011

More Gunwales!

Finally got the port side gunwale finalized with the epoxying of the poplar plank. At the same time I  epoxied the cross brace members together making sure they where at 90 degrees to each other.

After the gunwale set up I removed the clamps and did a quick check of the cross brace to see how it fits. Looks like I am going to have to do a little fitting so that it has a snug fit. The fitting is going to have to be a three step process. First I need to sand down the deck in the immediate vicinity and make sure all the fiberglass tape joints are smoothed down, secondly I need to do a little sanding on the cross member itself, and thirdly I need to sand down the gunwales since the top part of the cross brace (to be installed later) will get routed into the gunwales so I need a nice smooth surface so I can accomplish this.

So, today I got home from work and started sanding with 80 grit sand paper to smooth out the gunwales and started sanding the deck down. The gunwales look good, but it looks like I'm going to have to do some more sanding this weekend to get the deck smoothed out.

Cross Member Temporarily Fit in Place


Once everything is set I'll glue the cross member in place after double, triple and quadruple checking it's location!

Sunday, March 6, 2011

Gunwales

I started today by getting the cedar portion of the port side gunwale epoxied into place, after which I used the thickness planer to get the poplar board to 10mm and cut it into two 32mm wide planks.

While the port side is set up I cut the slot for the wingtip into the poplar plank. Based on my only "adequate" results that I got with the inside cedar planks I decided to try something different to insure a perfect fit against the wing tips. After some head scratching I came up with a perfect solution: Use some of my adhesive backed roll of 80 grit sand paper and put it up along the wing. I then proceeded to sand the opening in the same plane as it was going to be installed and it made a great fit!


I finished today by epoxying the poplar piece in place. Tomorrow I'll finish up the port side and start working on the installation of the cross structure which supports the mast.

Saturday, March 5, 2011

The Boat is Down!

Finally, after hanging out on the garage ceiling since mid November, the hull is down on the garage floor! It's about time! Now it's time to get this project going in full swing and finished before the summer sailing season begins (Which right now is looking like it might be a little bit of a tight schedule!)

First step is to install the gunwales!

The gunwales consist of two parts that are laminated to the side of the hull. An inner piece made of cedar, and an outer piece made of poplar. I decided do the laminating process one at a time versus epoxying both pieces at the same time. I figure it will be a lot easier to deal with one piece at a time versus two sliding together against each other and the hull.

Prior to my surgery I had ripped the cedar to both thickness and width. I used a compass to trace the wing shape onto the cedar and cut it out with my scroll saw. It wasn't a perfect fit, but close enough since there will be a piece of poplar covering it up. This evening I got the starboard side glued up. Will do the port side tomorrow.


Tomorrow I will also start making a bunch of sawdust and plane the poplar boards to the correct thickness and cut them down to size.

Friday, March 4, 2011

Foils Continued

Today I finished applying the last coat of epoxy to both the rudder & dagger board.

Once dry I am going to temporarily put them away prior to finishing them (installing the handles, sanding them & varnishing them). I'm thinking that the boat is still several months away from being finished and the two foils have a good opportunity of getting knocked around in the garage. This way I don't have to be super careful handling them in the interim.


Tomorrow I bring the hull down and it will be time to install the gunwales! Let's get the hull finished!!