

As luck would have it while I was drilling the holes in the mast I found out that I complete missed the cedar solid core section where the lower shrouds attach. And to add insult to injury I also found out that the solid section where the spinnaker attaches to on the upper mast was installed in the wrong spot since I forgot to account the length of the spigot when I located it and it ended up being 100 mm below where it needed to be!
 |
| That's not supposed to be hollow! |
So I decided to drop a quick email to Dudley to ask for help. He suggested installing a 1/2" hardwood dowel wrapped with fiberglass to act as a compression post.
So another trip to Lowes to buy a 1/2" poplar dowel. I also needed to figure out how I was going to drill out my 3/8" holes to 1/2" without majorly messing up the wood. After a lot of wandering around in the isle I decided to go with a uni-bit to start the hole and use a forsner bit to finish it. The trick was to find a forsner bit that would drill a 9/16" hole which was the approximate dimension of the dowel once I wrapped a layer of fiberglass on to it (Not a popular dimension to say the least!). That took a special trip to a specialty woodworking supply store!

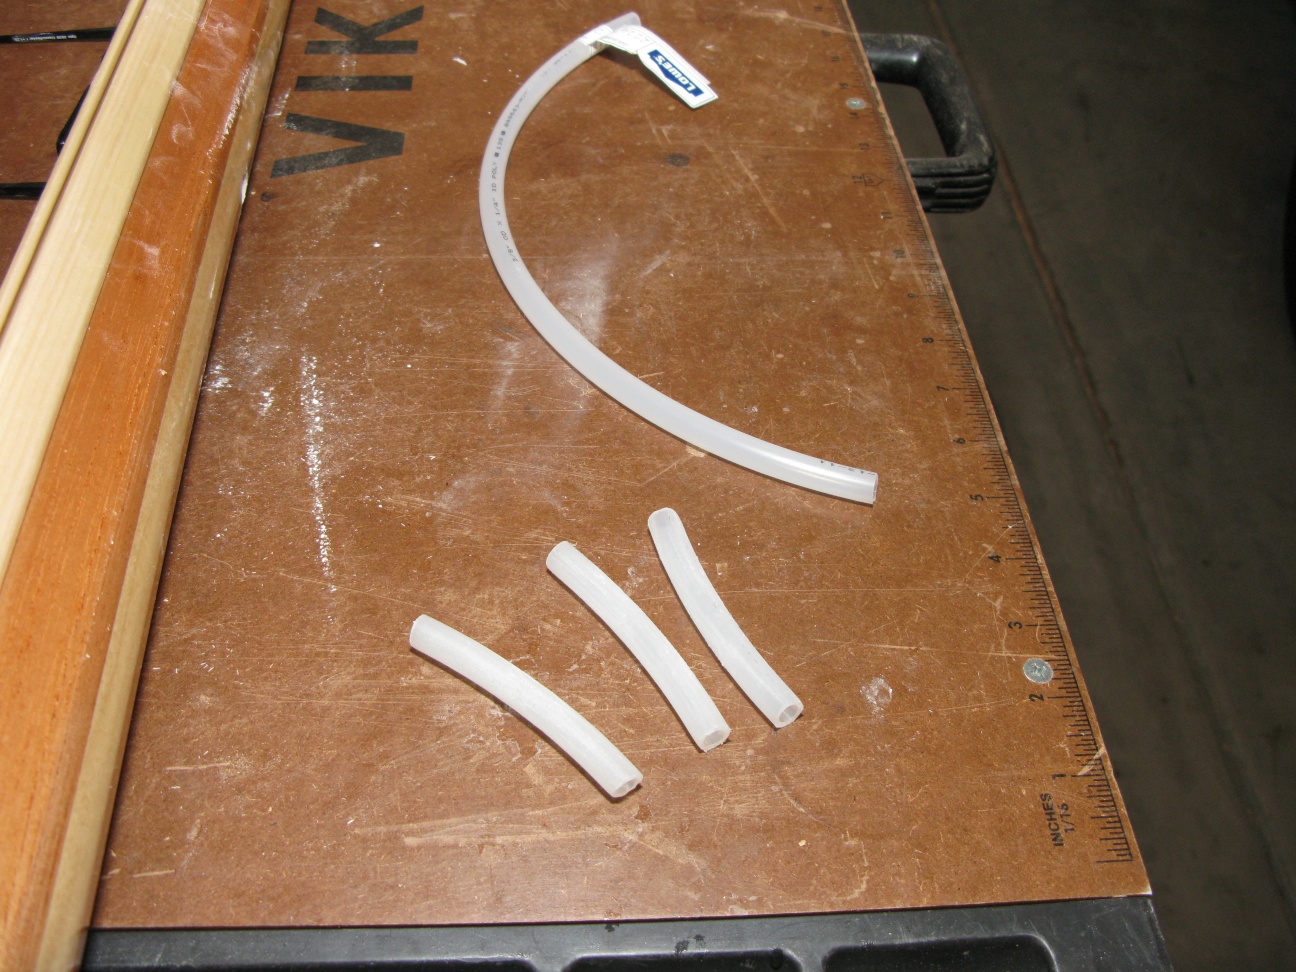
I had some 2" wide fiberglass tape left over from the construction of the hull so I went ahead and wetted it out.

And wrapped it around the dowel.

Once cut to size I ran it through the drill press and drilled a 1/4 inch hole through it.

Followed by epoxying it into the hole that I drilled in the mast.

While I did that I also installed the thumb cleats on the mast that I somehow missed the 1st time!
 |
| Finished Product |

Next steps will be to sand both pieces of the mast and apply varnish - I am so looking forward to that!
