Paper Jet 14

Paper Jet 14
Hull#001 Built by Dudley Dix

Saturday, March 28, 2020

Quarantine = Stay at home = Work on Boat

Ok so it has been a long while since I last pulled the boat down to do anything. Part of the issue is after downsizing to a two car garage when we moved to California it becomes a game of Tetris to move everything around so I can get the boat down and work on it. I also still haven’t got a good idea on how I will tow it since I don’t have a place to park another trailer. Also we now have a Beneteau First 30 that keeps my attention on the weekends!


At this point I would say I am pretty much 99% complete and really just have a couple of pieces of hardware to install. I also need to send the headsail to a local loft to put a wire luff in it. I decided to go with a furler since a friend of mine happened to have a used Harken dinghy furler  and he just gave it to me!

I ordered all the lines for the boat and whipped all of the ends. I also decided to go with dyneema shrouds versus wire to be a little lighter and mainly easier on the wooden mast. It was lots of fun doing the eye splices and they turned out really nice!


As with most things it is all about having the right tools for the job!

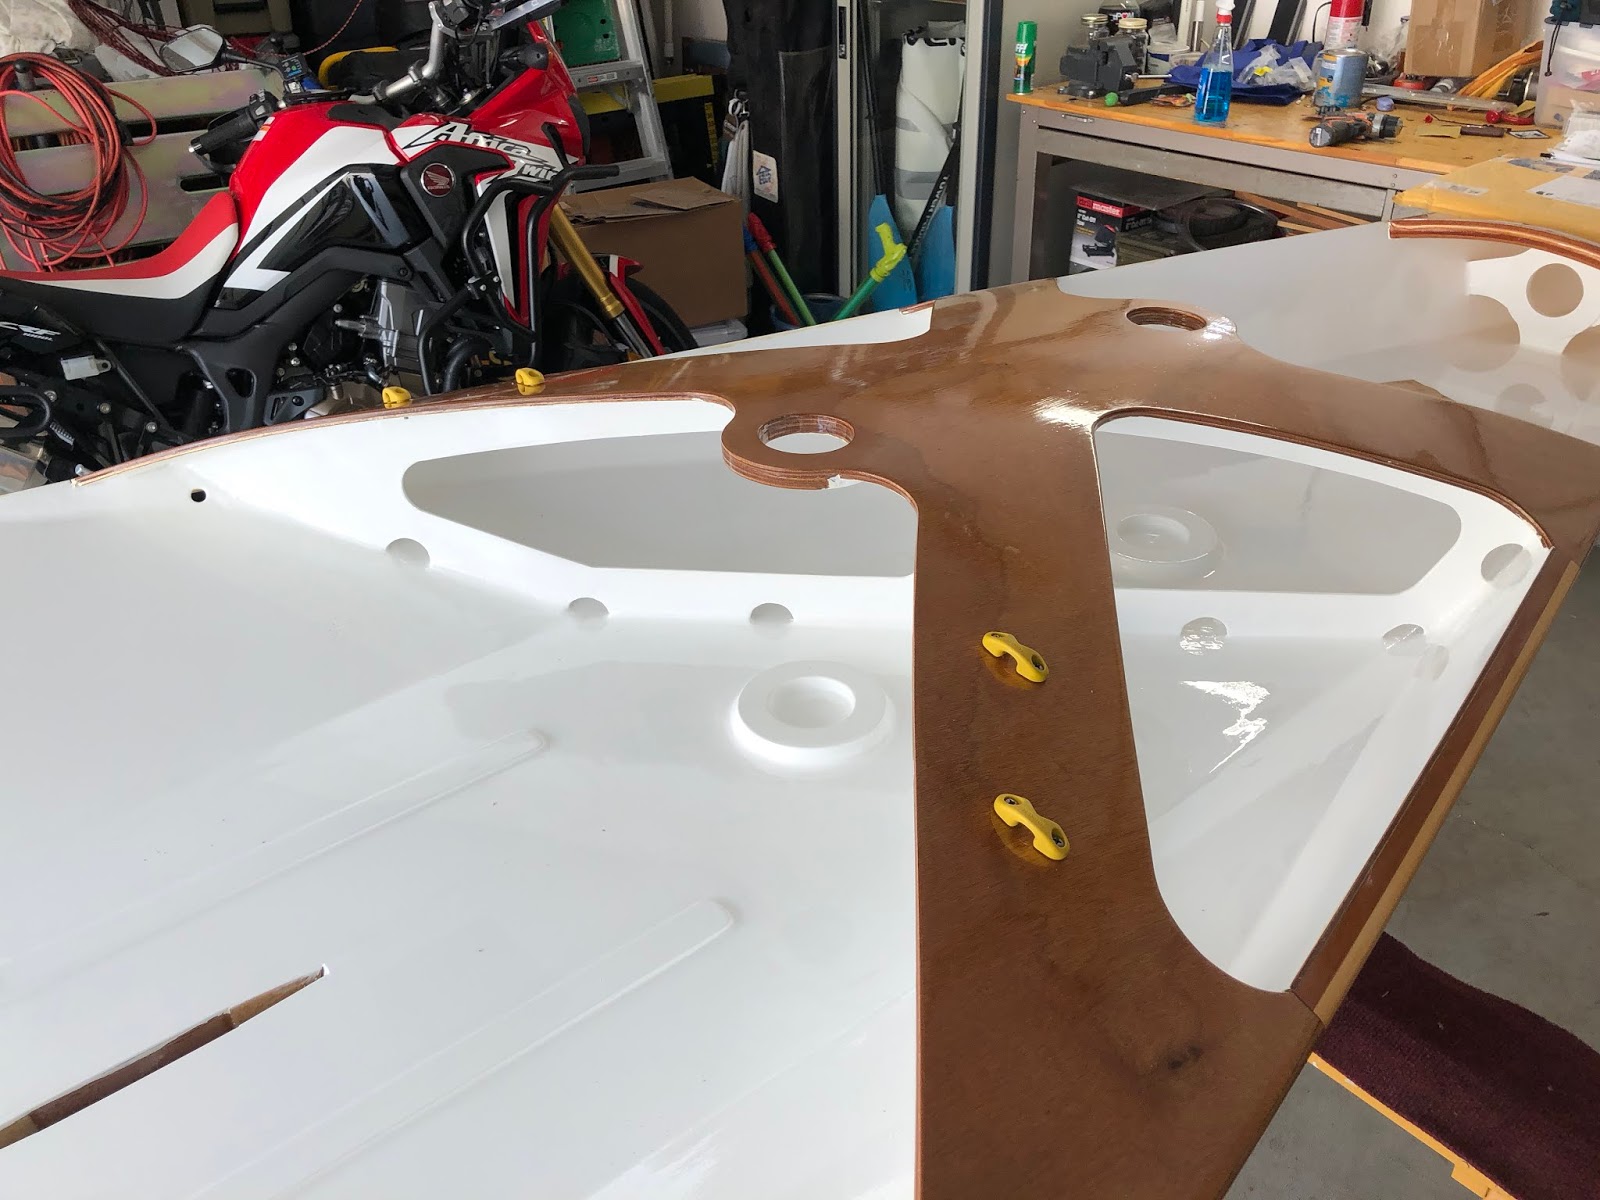
Today the goal was to get the mast step brackets installed along with some miscellaneous hardware that still needed to go on. I also needed to get an approximate length of the forestay so that I can get the wire luff installed on the jib. Stepping the mast turned out to be a little hairy since it is quite long! I had the boat on the stand and had to put it on the ground in order to get the mast on! (The
Turbo rig is taller than you think!).


Once the mast was on I marked the location of the attachment points to the mast step brackets, drilled the holes and added that gang of blocks


I am still missing a couple of pieces of hardware on the boat which I will need to go to West Marine once things get back to normal.


I

Saturday, June 16, 2018

Installing Hardware

After several years of storing a minor fortune in sailing hardware I finally had the opportunity to install it.

As I drilled every hole I dipped the screw head in clear silicone to help seal it. I also found that it was a good idea to do a small countersink in the finish to prevent it from cracking and breaking away as you screwed into the wood.


I made sure that there was a generous amount of silicone added to the pintles and drain plugs in the back as I installed them!


I also decided to make a plug for the bowsprit hole while I was at it out of some spare okume.


Finally I made the mast hold down brackets and also a block that is needed to mount the spin halyard cam cleat to the deck.


While I was at it I also finished the pin that holds the sheave in place on the top portion of the mast!


Interestingly enough after I had all the hardware installed I found out that a friend of mine had a Harken dinghy furler that he would give me so I could have forgone some of the Jib hardware!

Lastly I had not fit the mast extension to the mast since I had added a coat of laminating epoxy to the portion of the upper mast that goes in the sleeve in order to seal it. I found out that the epoxy was thick enough that it would not slide into the fiberglass sleeve anymore. Good news is that after a bit of sanding it all worked out! I put some rub on poly on this portion to water proof it.


Time to spend more $'s! Need to order the standing and running rigging!


Tuesday, November 28, 2017

Painting the Hull and Brightwork

The hull has finally been painted and so has the bright work! I will say that it was a lot simpler affair to paint the hull than the deck and for the most part it turned out OK. A little practice with the 2 part paint along with a lack of nooks and crannies made this a much better experience!


For the bright work I decided to go with CETOL since I am under the impression that is a bit more robust than varnish. I also went with a gloss finish!


Still a couple of painting tasks left to finish: Non Skids and the Foils!

Saturday, August 12, 2017

Painting the Upper Deck

Finally started painting the boat! It has been a task I have not been looking forward to based on all the nooks and crannies within the cross members that needed to be painted. It is also a first time for using Interlux Perfection which is a two part paint.

Interlux recommended two coats, I ended up with three for a couple of reasons. Firstly I had the paint and secondly, long term, it would be more durable.

My experience with this paint was OK. First of all it would have gone better if I had sprayed it on. Unfortunately I do not think my neighbors would have been very happy if I atomized a bunch of highly toxic paint / thinners next to their homes so even though I have the equipment I decided to do the old roll and tip.

The other issue is painting large surfaces in a garage. You need to have good ventilation which allows dust particles, and small insects to land in your setting paint so it is impossible to get a perfect surface. Finally, there is the learning curve of using a new type of paint that sets up quickly and does not allow you to brush over a spot if it didn't turn out 100% without ruining the finish.

All being said the finish on the deck looks good for being painted on and for a boat that will be used is good enough!


Sunday, April 30, 2017

Drilling holes in the hull!


Next step on the rudder is to mount it to the transom. While I was at it it went ahead and drilled the twin drains at the back.


It is worth noting that I drilled the drain holes first and then I mounted the rudder. Interestingly enough after I looked at Dudley's instruction it may have been wiser to mount the rudder first then drill the holes! Good news is that the height worked out good and also that the drain holes are at the absolute lowest point the hull!


While I was at it I also cut the inspection hole in the front of the deck and widened out the hole at the rudder mount area to install the access plate. I was going to buy a hole saw to do it but decided to just free hand it with a jig saw.

On all these holes I went back and added epoxy to the exposed wood to seal them from moisture.
Rudder Inspection Port

Front Inspection Port

I Also decided to mount some of the hardware on the bowsprit and mast extension. 


So next steps is to get the hull / deck painted. Prior to getting too carried away I wanted to make sure that I had a good way to get the hull up and down off the ceiling without any "strap rash" Therefore, after a little research I went ahead and bought a Harken Hoister. Works pretty slick!


Friday, February 3, 2017

Finishing up the Rudder

Ok, so I have been absent from my boat for quite a while. A second move to Orange County  California and the purchase of a new (to me) Beneteau F235 has put this project on hold for too long.  My goal now is to get this boat on the water this summer!

A few months ago I decided to at least tackle one of the smaller projects which was finishing the rudder.

A few things had to happen:

First of all I had to apply the finish to it. Previously I had put a couple of coats of laminating epoxy. So I sanded it smooth and applied a couple of coats of rub on polyurethane. It is one of my favorite easy finishes and I didnt want to hassel with varnish with all the nooks and cranies.

I attached the gudgeons to the rudder and used a phillips screw driver to make sure they were somewhat lined up


Next step was to attach the Ronstan Battlestick that I bought as a tiller extension


I ended up having an old neoprene diving "bootie" that was past its prime so I cut it up into strips and use 3M 4200 adhesive to glue it into place to hold the rudder straight in the "Cassette"


Not the prettiest solution but it should work fine. With that I would call this particular part done!


Thursday, January 1, 2015

I Have Moved!

Ok so I last year I moved from Arizona to Palm Springs California area to get a little closer to the ocean. I loaded up the PaperJet on it's construction frame and car-topped it to it's new home.

The boat took up the entire roof rack and added a lot of windage to the truck. Not sure how good a system this would be to take it back and forth to the water. I'm thinking a trailer will be the better option.


I now need to get my garage ship shape so that I can finish fairing / primer coat and paint it. I hope that 2015 is the year this boat gets wet!


The construction frame work great for transporting

Ready to leave to California

PaperJet at it's new home!

Living on the ceiling once again!